Ch-ch-ch-check it out!
So I made this on the weekend (read: finally got around to hanging it on the wall).
It was cheap and fast, just how I like it.
Total cost you ask? About $35.
After Christmas, IKEA was having a 50% sale on their RIBBA Frames, so I went a bit nuts. This isn't even half of the frames I bought. But these already incredibly cheap frames were double the cheapness! So the total cost of these frames was around $30. Total steal.
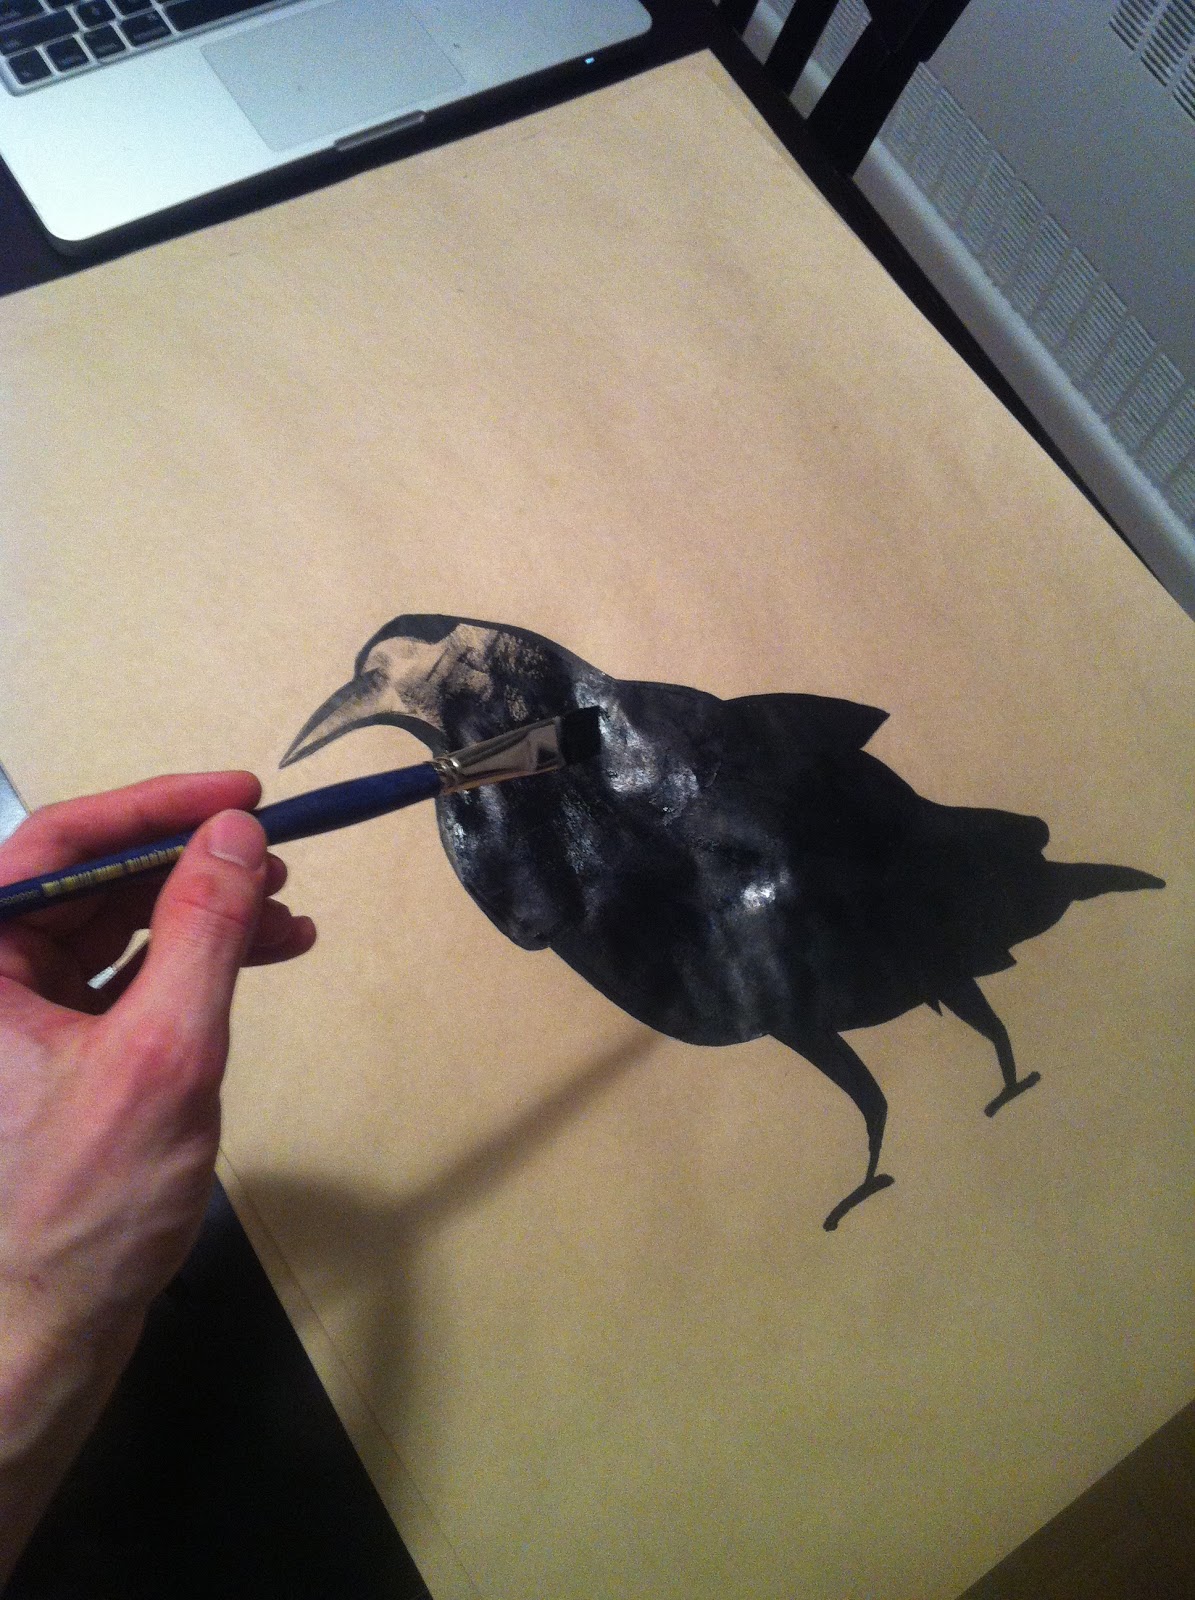
For the art, I bought a pad of manilla craft paper for $2.99, a cheap paintbrush and a tube of black acrylic paint and WERKED. IT. OUT.
Two pictures I had posted on my Pinterest account had been stuck in my head for a while, and I desperately wanted to get some sort of gallery thing happening over the couch.
The first picture was an amazing collection of what I assume are old shooting range targets, grouped in a tight arrangement with all black frames. I love the circular repetition, and it incorporated just the right amount of black. The varying shades of the paper also really turned me on?

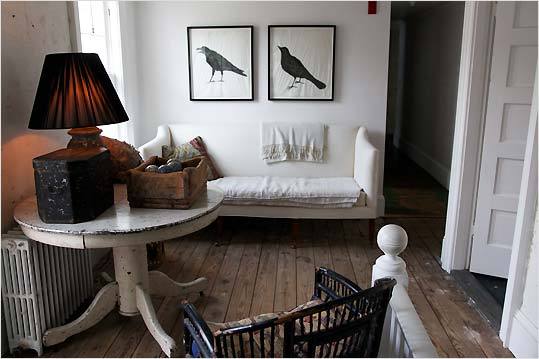
The next was of this pair of Edgar Allan Poe-esque raven silhouettes, that were beautiful in their simplicity.
I knew both could be easily DIY-ed, and because I liked both of them so much, I just smashed the two together into a clusterf&*k of paintings, threw them over my couch and called it a day.
For those of you looking for a How-To, I really just Googled some crow silhouette images, drew them freehand and filled them in with black acrylic paint. With the circle art, I found that (for whatever reason) I still owned a geometry compass and used that to make some circles.
Look at me go! Just crankin' out MAGIC.
Seriously, people do this for a living?*
(* I actually respect artists.)
With regards to the hanging, avoid the common mistake of hanging your art too high. ALWAYS hanging your art at eye-level. The pros suggest 57" for the vertical centre of whatever you're hanging - but you can generally eyeball it. For a gallery arrangement like this one, the spacing between each of the pictures is important. This I did measure carefully, and went with 4.5" between each.
Here is a glare-y picture to give some context of how the arrangement fits on the wall. Hanging everything too high creates an awkward negative space between the top of the couch and the gallery.
Stick to the rules and you should make it out of this OK.
What I did really like about the arrangement of targets though, was the idea of a black matte (instead of the traditional white) that highlighted some of the frames.
I had more mattes than I knew what to do with, so I decided to risk one and spray paint it black. And guess what? It worked perfectly! I was afraid that it would seem uneven, or have weird paint speckles but it didn't. I even took this weird close-up picture for any haters out there! (Not a great picture, just take my word that it is perfectly smooth).
As always, the basics of spray painting still apply: APPLY MULTIPLE THIN COATS. Do not expect to cover it heavily in one go. But you know that by now, don't you?
Here is a ghetto over-exposed pic of me mid-way through spray painting the matte. Not sure why I took it.
I'm really happy with how it all turned out. No need to spend time looking around for art which is always way too expensive anyway. Stick it to the man and make your own!
Happy crafting.
bZd


No comments:
Post a Comment