How to get this...
...from this.
Click below for the (rather long) how-to:
Here is the step-by-step process, with pictures. Comments will be brief as many pictures are self-explanatory, but be prepared for many awkwardly posing hand photos all in the name of DIY blogging.
You will need:
2 bottles liquid TSP industrial cleaner
2 quarts good quality primer (we used STIX)
2 quarts semi-gloss Benjamin Moore 'Advance' paint, un-tinted
A drill/screwdriver
Sandpaper/sanding blocks
Wood filler (optional)
A rotary sander (optional)
Rollers, paint trays, etc.
Instructions:
Remove doors.
Number doors using painter's tape. This is important especially if you have many doors of the same size, because putting them back up in different places may result in uneven and misaligned doors when you go to hang them all up again.
Scrub all doors, drawers and casings with TSP liquid cleaner. (*Not a hand model.)
Sand all doors, drawers and casings with coarse sandpaper or sanding blocks.
Wipe down all surfaces after sanding with a damp cloth and water. It is VERY important to eliminate any chance of dust getting into your paint or primer.
Fill in any holes, scrapes or blemishes with wood filler.
Sand down any filled areas after allowing to dry. (You may wish to use a power sander.)
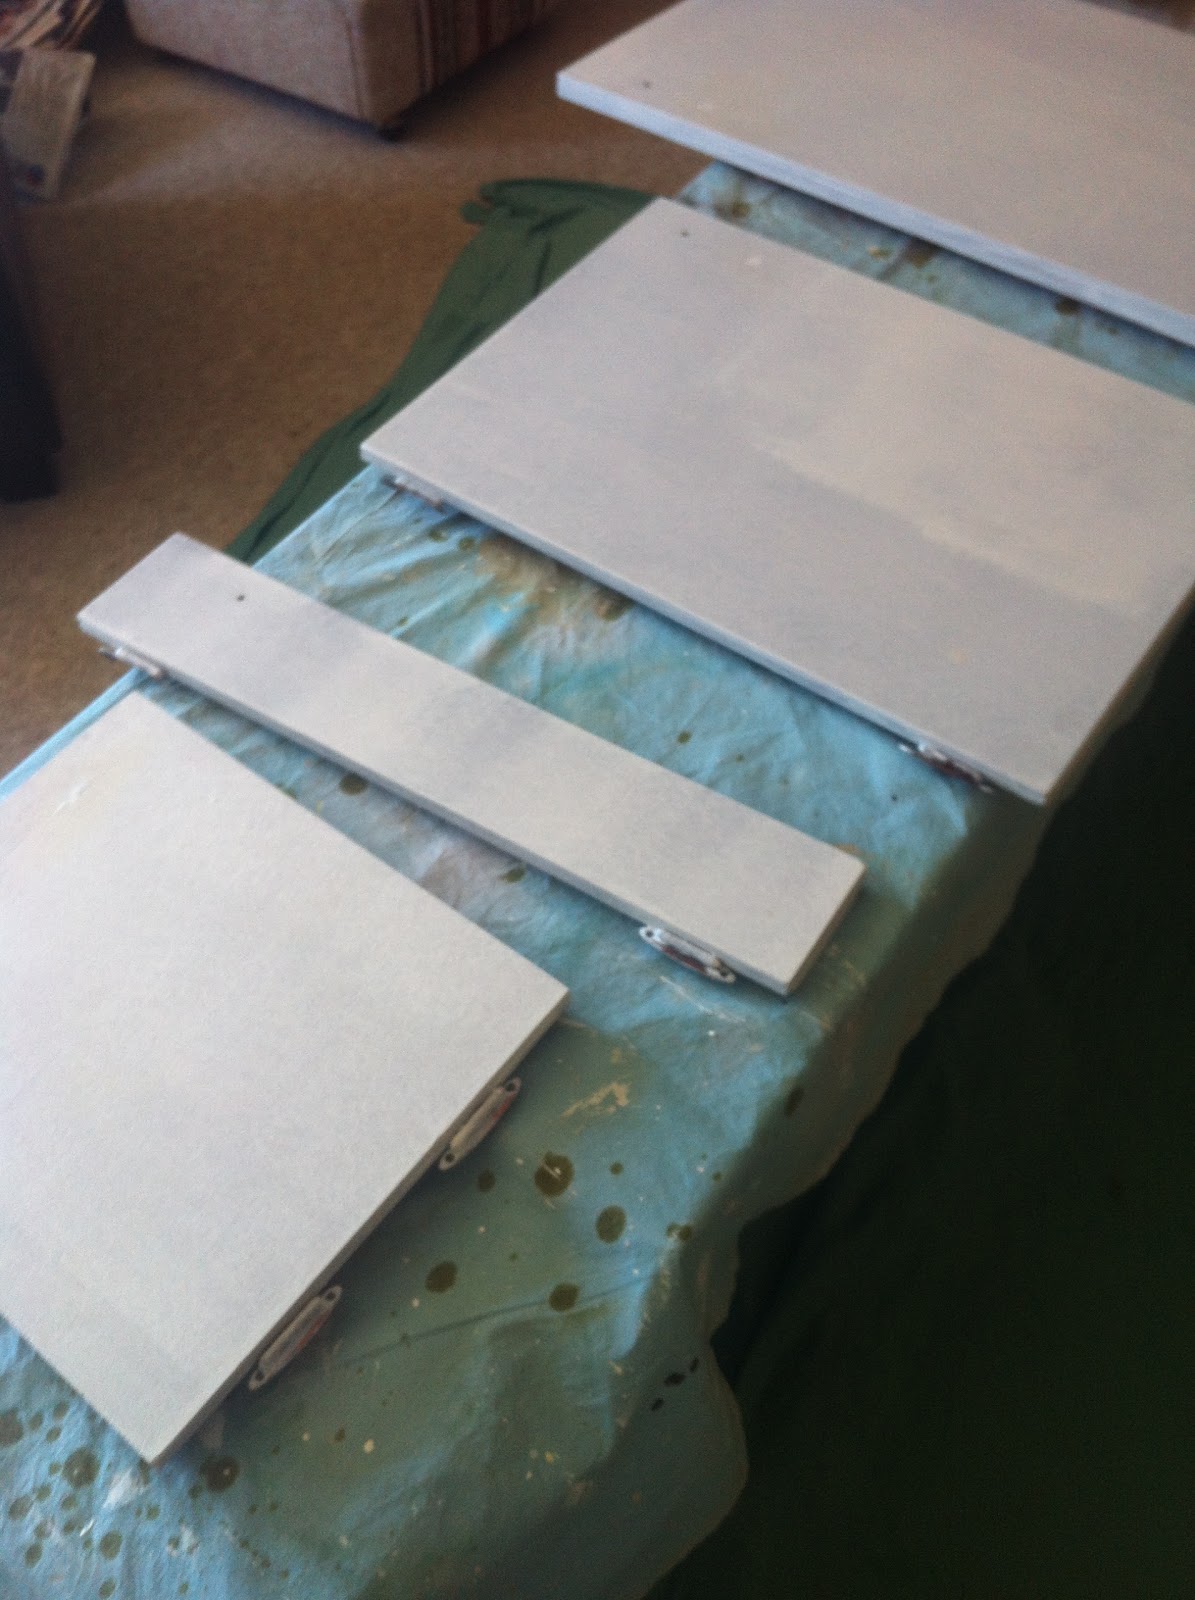
Apply a relatively thin, even coat of primer.
Apply a second thin, even coat of primer. (You can see the second coat being started here.)
If you are an extreme perfectionist, this is where you would want to bust out the electric sander, and buff everything down to a smooth, smooth finish. We experimented with this on some of the rougher looking panels, where the grain was slightly more pronounced. We did not sand the primer on most of the panels. As you can see, expect that some of the primer may sand off. Reading some other how-to's on this mentioned that you can touch up these areas with spray primer.
*Spoiler alert* Some of the panels that we chose not to sand did end up showing some of the grain through the final paint job, but it didn't bother us at all. It was about at this point where some of our laziness began to creep in, and we increasingly began to say "Meh - it's the cottage".
Apply two thin, even coats of paint. Here is a shot of the first coat going on. Certain areas that seemed to absorb the paint a little more were given a third coat.
VERY IMPORTANT: Allow all of your doors, drawers and casings to "cure" for a few days before handling them, hanging them, etc.
Again, for the perfectionists, I have read some how-to's advising to sand between each coat of paint and primer. For what we needed this was slightly excessive, but if you are looking to fool everyone you know that your kitchen was painted professionally, this would be the way to do it. (Just be sure to wipe away any dust between each coat.)
Here is a close up of how our doors turned out without sanding at all. Pretty smooth if you ask me.
Again, to make life easy, we decided to leave all of the hinges on the doors as they were. (Hanging doors and aligning hinges can be a tricky business.) Because our hinges were exposed, we decided to spray paint them black for a bit of contrast. Using Rustoleum black spray paint and a piece of cardboard to protect our freshly painted doors (yikes!) we got the job done.
Ta-da! Not too shabby. We chose some long, black handles to go with our hinges, and I am very proud of the end result.
What we did in two weekends totally changed this kitchen (the new stainless stove and microwave aren't hurting either) and only cost around $250.
We decided not to paint the insides of any doors, or inside any of the casings. We were lucky that the kitchen was actually well-made from nice, real wood so we were happy to leave it unpainted. This is how many custom wood kitchens are finished anyway.
Also, we decided to go with un-tinted white to be sure the new paint looked fresh and not dirty or dusty, and also to match the existing, large wall unit along the opposite wall (you can see a peak of it sticking out on the left of the above photo).
Looking back, if you have the time and patience, sanding between each coat may result in a more polished end result, but some of the panels that we sanded did tend to bleed some of the old wood colour through the final layer of paint (only visible when looking super up close).
Anyway - I'm spent.
Writing this post took about as much energy as painting the damn kitchen, which is to say, writing posts is hard and painting a kitchen is actually rather easy. All you need is a bit of time.
Ugly wood kitchens? Ain't nobody got time fo' dat.
bZd


No comments:
Post a Comment